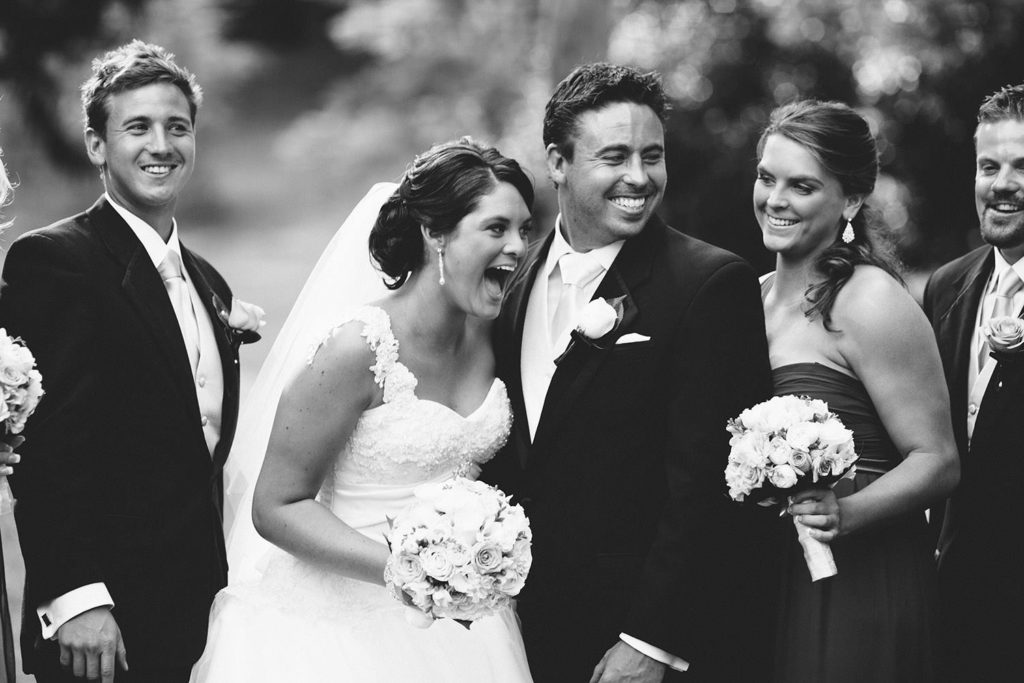
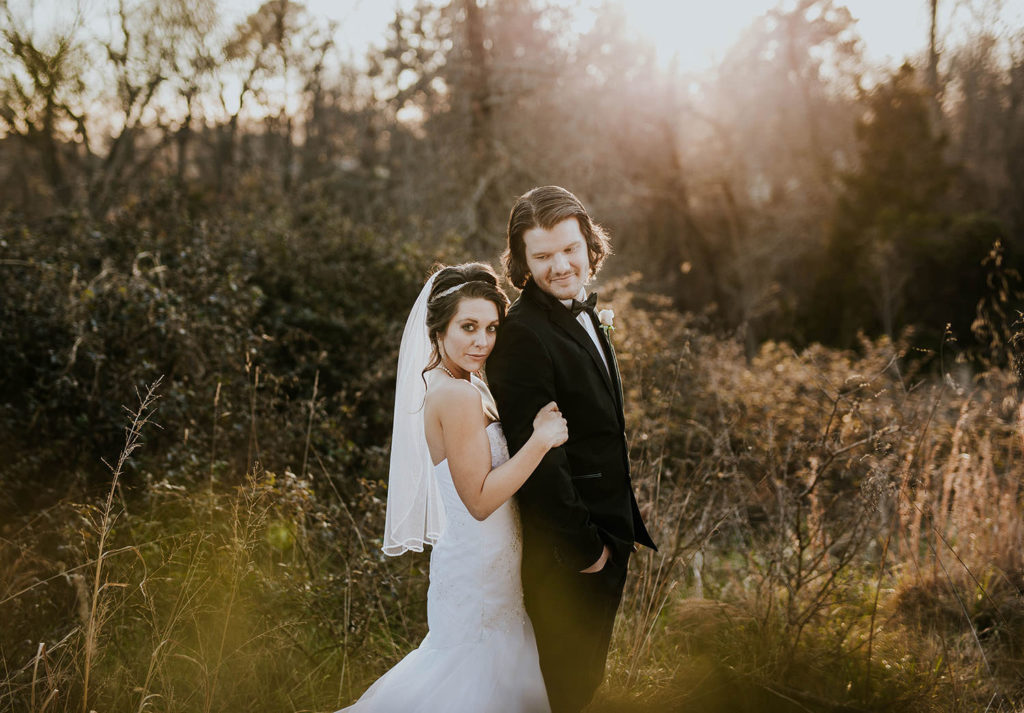
A wedding vision board is a visual representation of your dream wedding. It’s a collection of images, colours, and ideas that reflect the style, theme, and overall feel of your special day. A vision board can be a physical or digital collage, that helps you to focus on what you want for your wedding. Creating a vision board can be a fun and creative way to plan your wedding and make decisions about everything from your dress to your decorations.
Wedding planning can be overwhelming, and it’s easy to get caught up in the many details and decisions that need to be made. A vision board can help you stay focused on what’s important to you and make sure that all of your planning decisions align with your overall vision. It’s a way to bring all the scattered ideas in your head together in one place, and it can also serve as a powerful reminder of your dream wedding as you plan.
In this guide, we’ll take you through the steps of creating a wedding vision board, from gathering inspiration to displaying your finished product. We’ll show you how to find inspiration, choose a format, and collect materials for your board. We’ll also provide step-by-step instructions for creating your vision board and tips for arranging and grouping elements. By the end of this guide, you’ll have a beautiful and meaningful vision board that will help you plan and create the wedding of your dreams.

1. Gather inspiration
The first step in creating a wedding vision board is to gather inspiration. This will help you identify the key elements of your dream wedding and give you a starting point for your board. There are many ways to gather inspiration for your wedding vision board. Some popular options include:
- Pinterest: Pinterest is a great resource for finding inspiration for your wedding vision board. You can search for specific keywords, such as “Rustic Wedding” or “Beach Wedding,” to find a wide range of images, ideas, and inspiration.
- Wedding blogs: There are many wedding blogs and websites that feature real weddings, inspiration boards, and ideas for different themes and styles.
- Magazines: Bridal magazines are a great source of inspiration and can be a great way to see different styles and themes.
- Instagram: You can follow wedding planners, photographers, florists or other vendors to get inspiration from their feeds and stories.
- Friends and family: Ask your friends and family members for their ideas and inspiration. They may have a unique perspective that you haven’t considered yet.
As you gather inspiration, take note of the images, colors, and themes that you’re drawn to. This will help you identify the key elements of your dream wedding and give you a starting point for your board. Try to focus on a specific theme and color scheme, it’s going to make the process of creating your vision board much easier.
It is also important to keep in mind that inspiration doesn’t need to come from only one source. You can take inspiration from different sources and blend them together to create your unique vision. The key is to find things that truly speak to you and make you feel excited about your big day.

2. Choose a format
Once you have gathered inspiration, the next step is to choose a format for your wedding vision board. There are several options available, each with its own pros and cons. Some popular formats include:
- Physical board: A physical board is a tangible representation of your vision. You can create it using materials such as poster board, glue, scissors, and magazines. Physical boards are great because they are easy to display and can be a great conversation piece.
- Digital board: A digital board can be created using a variety of software or apps. You can use programs such as Canva, Photoshop, or even PowerPoint to create your vision board. Digital boards are great because they can be easily shared and edited.
- Pinterest board: You can also create a virtual vision board using Pinterest. This is a great option if you want to be able to easily share your board with friends and family. You can organize your inspiration into different sections, and add comments and notes to each image.
- Video: You can also create a video vision board using video editing software or an app like Adobe Premier Rush. It is a great way to put together a moving montage of all your favourite images, colours, and ideas.
When choosing a format, consider your personal preferences and how you plan to use your vision board. Physical boards are great for displaying in your home, while digital boards are more convenient for sharing with others. A Pinterest board may be the quickest and easiest option if you’re short on time.
Ultimately, the most important thing is that the format you choose works for you and helps you achieve your vision. You can always change the format later if you find that it’s not working for you.
3. Collect materials
Once you have chosen a format for your wedding vision board, it’s time to collect the materials you’ll need to create it. The materials you need will vary depending on the format you’ve chosen.
For a physical board:
- Poster board or foam board
- Scissors
- Glue or tape
- Magazines, brochures, or other printed materials
- Any other materials you want to include, such as fabrics, ribbons, or trinkets.
For a digital board:
- A computer or device with internet access
- Access to photo editing software or app
- Images and elements that you’ve gathered from online inspiration or your own personal photos.
For a Pinterest board:
- A Pinterest account
- Images and elements that you’ve gathered from online inspiration or your own personal photos.
For a video:
- A video editing software or app
- Images, videos, and elements that you’ve gathered from online inspiration or your own personal photos.
- Music, if you want to include it.
When collecting materials, try to focus on the key elements of your dream wedding that you identified during the inspiration-gathering phase. This will help you to stay focused and create a cohesive vision board.
As you gather your materials, be sure to keep them in a safe and organized place, so they’re easy to access when you’re ready to create your vision board. This will make the process of creating your board much easier and less time-consuming.

4. Create your vision board
With your materials gathered and organized, it’s now time to create your wedding vision board. The process will vary depending on the format you’ve chosen, but the steps will be similar.
For a physical board:
- Start by laying out your poster board or foam board on a flat surface.
- Begin placing your images, fabrics, and other materials onto the board, using glue or tape to secure them in place.
- Use scissors to cut out any images or text that you want to include on your board.
- Continue adding elements until you have a cohesive vision board that represents your dream wedding.
- Display your vision board in a place where you can see it often, such as in your bedroom or on your inspiration wall.
For a digital board:
- Open your photo editing software or app.
- Create a new document or canvas.
- Begin adding your images, elements, and text to the canvas.
- Use the editing tools to arrange and resize your elements.
- Add any finishing touches, such as borders or text.
- Save your vision board and share it with friends and family, or print it out to display in your home.
For a Pinterest board:
- Log in to your Pinterest account.
- Create a new board and give it a name that reflects your wedding theme or style.
- Begin pinning your images and elements to the board.
- Organize your pins into different sections, such as flowers, decor, or attire.
- Share your board with friends and family, and ask for their input and feedback.
For a video:
- Open your video editing software or app
- Create a new project and import all the images, videos, and elements that you have gathered
- Use the editing tools to arrange and resize your elements.
- Add music or voice-over if you want.
- Add any finishing touches and export the final video.
When creating your vision board, remember that it’s not about perfection, it’s about representation. You can always make changes or adjustments later. The most important thing is that it represents your dream wedding and makes you feel excited about your big day.

5. Display and use your vision board
Once your vision board is complete, it’s important to display it in a place where you can see it often. This will help you stay motivated and focused on your wedding plans.
For a physical board:
- Consider hanging it on a wall in your bedroom or home office where you can see it every day.
- You can also display it on an inspiration board or a mood board in your wedding planning area.
- You can even take a picture of your vision board and set it as your background on your computer, phone or tablet.
For a digital board:
- You can set it as your background on your computer, phone or tablet
- You can print it out and display it in a frame or on a bulletin board
- You can also share it online with friends and family, or on social media platforms.
For a Pinterest board:
- Share it with friends and family, and ask for their input and feedback
- Use it as a source of inspiration for your wedding planning decisions
- Organize your pins into different sections, such as flowers, decor, or attire.
For a video:
- Share it with friends and family, and ask for their input and feedback
- Use it as a source of inspiration for your wedding planning decisions
- Share it on social media platforms.
Your vision board should serve as a constant reminder of your dream wedding and the plans you’ve made. Use it as a reference when making decisions about your wedding and as a guide when communicating your vision to vendors and wedding party members. With a clear vision, you’ll be better equipped to make decisions and take action toward creating the wedding of your dreams.

Final Thoughts on Creating a Wedding Vision Board
Creating a wedding vision board is a fun and effective way to bring your dream wedding to life. By gathering inspiration, choosing a format, collecting materials, and creating your vision board, you can visualize your ideal wedding and use it as a guide for making decisions and planning. A vision board can help you stay focused, motivated, and on track throughout the planning process. Whether you choose to create a physical board, digital board, Pinterest board, or a video, make sure to display it in a place where you can see it often. With a clear vision and a well-executed plan, you’ll be well on your way to creating the wedding of your dreams.


